Next主题是使用人数较多的一款主题,在于其精简易用,提供了不同的主题风格和样式配置。由于Next官方文档并未收录所有配置修改说明,所以本文重点总结一些常用的配置修改方法以及增加一些扩展效果。
欢迎留言补充说明。(由于版本更迭,有的方法可能不再适用,当前版本V7.8.0)
布局修改
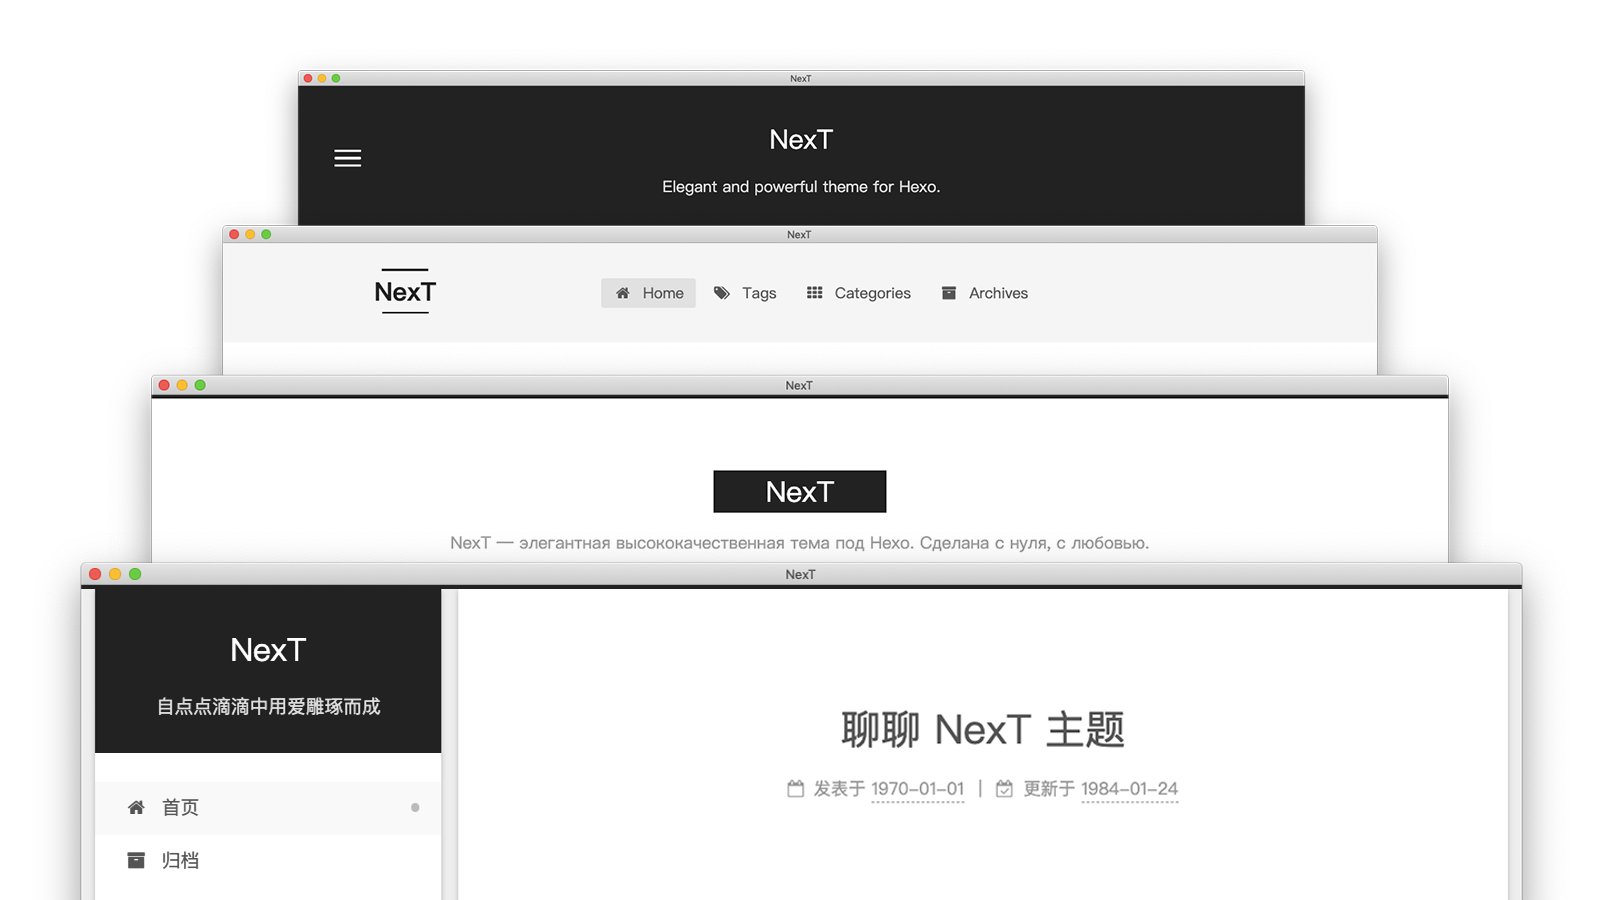
Next提供了四种主题布局样式,在主题配置文件中搜索关键词:Schemes,可以发现有以下布局样式可供选择:
1 | # Schemes |
可以尝试修改后调整为自己喜欢的布局样式。(对应文章开头图片的四种样式)
主页菜单修改
配置修改
Next默认可能只开启了首页和归档两个菜单,如果需要新增或自定义类似下面的菜单:
在主题配置文件中搜索关键词menu:(有翻译配置的会自动转换翻译)
1 | # Usage: `Key: /link/ || icon` |
一个菜单我们需要配置三个参数,对应格式为:菜单名称: 连接 || 图标。
跳转效果
当我们配置了菜单之后,可能点击是404界面,这是因为我们还没有为菜单创建对应链接下的访问目录和内容,以tags菜单为例,具体操作如下:
回到Hexo项目根目录,执行new page命令:
1 | hexo new page tags |
这样,会在Hexo的source目录下生成一个tags目录,并初始化一个index.md文件,而当我们访问/tags时便是访问tags目录下的这个index.md生成的html文件。
为了能看到内容,我们需要修改这个文件,你可以自定义你需要展示的内容,在这里,tags比较特殊,我们希望展示站点的所有标签信息,我们不可能手动添加,所以Hexo为我们内置了标签页的生成方法,我们只需要简单修改这个文件的头信息就能自动生成:
1 | --- |
重点是这个type字段,我们指定为tags之后,Hexo就会自动为我们创建标签页,类似的还有分类页categories,把type设置为categories即可。
展示文章字数统计和阅读时长信息
这是Hexo提供的一个插件,Next也支持了这个插件,所以我们只需要安装并修改主题配置文件即可:
安装插件
1 | npm install hexo-symbols-count-time --save |
修改配置文件
搜索关键字:symbols_count_time,没有的话需要新增:
1 | # Post wordcount display settings |
代码块样式修改
Next提供了多种样式可供选择,搜索关键字:codeblock
1 | codeblock: |
增加打赏功能
在主题配置文件中搜索关键词:reward_settings
1 | reward_settings: |
然后再搜索关键词reward,展示你需要展示的支付图片:
1 | reward: |
根据上面的配置,把图片复制到Hexo根目录的source/images目录下。
增加版权信息
在主题配置文件中搜索关键词:creative_commons
1 | # See: https://creativecommons.org/share-your-work/licensing-types-examples |
然后在文章底部就会自动生成这样的说明信息:

展示站点访问人数统计
Next内置了卜蒜子统计插件,所以只需要修改配置就好了,在主题配置文件中搜索关键词:busuanzi_count
1 | # Get more information on http://ibruce.info/2015/04/04/busuanzi |
显示页面加载进度条
Next使用了pace模块功能,
需要先安装这个模块到Next主题文件夹下:
1 | cd themes/next |
然后修改配置文件,搜索关键词pace或自己添加:(多种样式可供选择)
1 | pace: |
动态背景
Next内置了三种动态背景,可能会造成界面打开缓慢和卡顿,根据自己需求觉得是否安装:
以安装canvas-nest为例:
下载安装模块:
1 | cd themes/next |
修改或添加主题配置文件文件,搜索关键词:canvas_nest
1 | canvas_nest: |
静态背景
如果觉得动态背景卡顿或太花哨,你也可以只设置一张静态背景。
背景是简单的css设置的,所以我们需要插入一段css代码来覆盖默认设置。
在主题的css目录即:hexo\themes\next\source\css下有一个main.styl文件,这就是站点最终要的打包css文件,我们不建议直接修改这个文件,所以我们在css文件目录下新建一个文件custom.styl(可以换别的名字),表示这是我们自定义的css代码,增加以下代码:
1 | // 自定义的部分 |
如果了解css可自行修改样式。正如样式中的background-image,我们设置了url为/images/bg.png的图片作为背景,这里你可以更改为动态链接,否则,你需要再准备一张背景图片放到hexo\themes\next\source\images目录下。
现在我们,需要把新增的这个文件嵌入main.styl文件中:
1 | // ------------------插入自定义样式文件 |
自定义404界面
有时候遇到打不开的链接或者别的特殊情况,常常弹出404界面,我们可以自定义这个界面。有两个方法可以实现:
方法一:
首先需要创建404目录:
1 | hexo new page 404 |
然后,修改目录下的index.md文件即可。
方式二:
直接在next主题目录hexo\themes\next\source下添加404.html文件即可,比如下面的腾讯404工业界面:
1 |
|
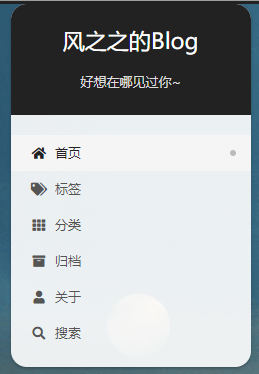
设置头像
Next默认不显示头像,在主题配置文件中搜索关键词:avatar
1 | avatar: |
根据url的路径添加对应的图片即可。
添加站点搜索按钮
Next内置的效果,在主题配置文件中搜索关键词:local_search
1 | # Dependencies: https://github.com/theme-next/hexo-generator-searchdb |
增加图片放大预览功能
利用Fancybox来放大查看和播放图片。
Fancybox有不同的版本,如果需要安装新版本,需要先清除已经安装的旧版本:
1 | rm -rf themes/next/source/lib/fancybox |
然后进入next主题目录安装新版本:
1 | cd themes/next |
最后修改主题配置文件即可:
1 | # For more information: https://fancyapps.com/fancybox |
回到顶部样式优化
首先回到顶部有配置是可以修改的,在主题配置文件中搜索关键词:back2top
1 | back2top: |
默认的回到顶部是个小箭头,如果你觉得单调,可以使用css换成你想要的样式,既然使用到了css,就如同文章目录静态背景这一节的操作一样,我们把新增的css代码写到custom.styl中就好了。
比如,我们新增这样一些样式:
1 | //自定义回到顶部样式 |
样式中,我们使用了一张背景图,我们把它放到hexo\themes\next\source\images目录下即可看到下面的样式:
点击这里可以下载这张图片:
backtop添加评论系统
Valine评论系统
Next内置了多种评论系统,你可以选择一款或者同时使用多款,这里以Valine 的安装为例:
Valine 评论系统,不需要登录,没有后端,关键还支持markdown语法,它的一些特点:
- 基于 Leancloud 的系统
- 支持 MarkDown 语法
- 无后端实现,快速高效
准备工作
注册
LeanCloud因为
Valine是基于LeanCloud系统的,所以先在LeanCloud中注册账号。注册登陆后,访问控制台,创建应用,选择开发版,创建好之后就生成了
App ID和App Key,这两个信息需要填写到配置文件中。修改主题配置文件
搜索关键字
Valine:1
2
3
4
5
6
7
8
9
10
11
12
13
14
15
16
17# For more information: https://valine.js.org, https://github.com/xCss/Valine, https://valine.js.org/hexo.html
valine:
enable: true
appid: #这里填写你的App ID
appkey: #这里填写你的App key
notify: false # Mail notifier
verify: false # Verification code
placeholder: 说点什么? # Comment box placeholder
avatar: monsterid # https://valine.js.org/avatar.html
guest_info: nick,mail,link # Custom comment header
pageSize: 10 # Pagination size
language: # Language, available values: en, zh-cn
visitor: true # Article reading statistic
comment_count: true # If false, comment count will only be displayed in post page, not in home page
recordIP: false # Whether to record the commenter IP
serverURLs: # When the custom domain name is enabled, fill it in here (it will be detected automatically by default, no need to fill in)
#post_meta_order: 0
本文使用的即Valine评论系统,欢迎滑到底部查看效果,或留下你的足迹。
添加点击和Typing特效
添加看板娘
TODO

